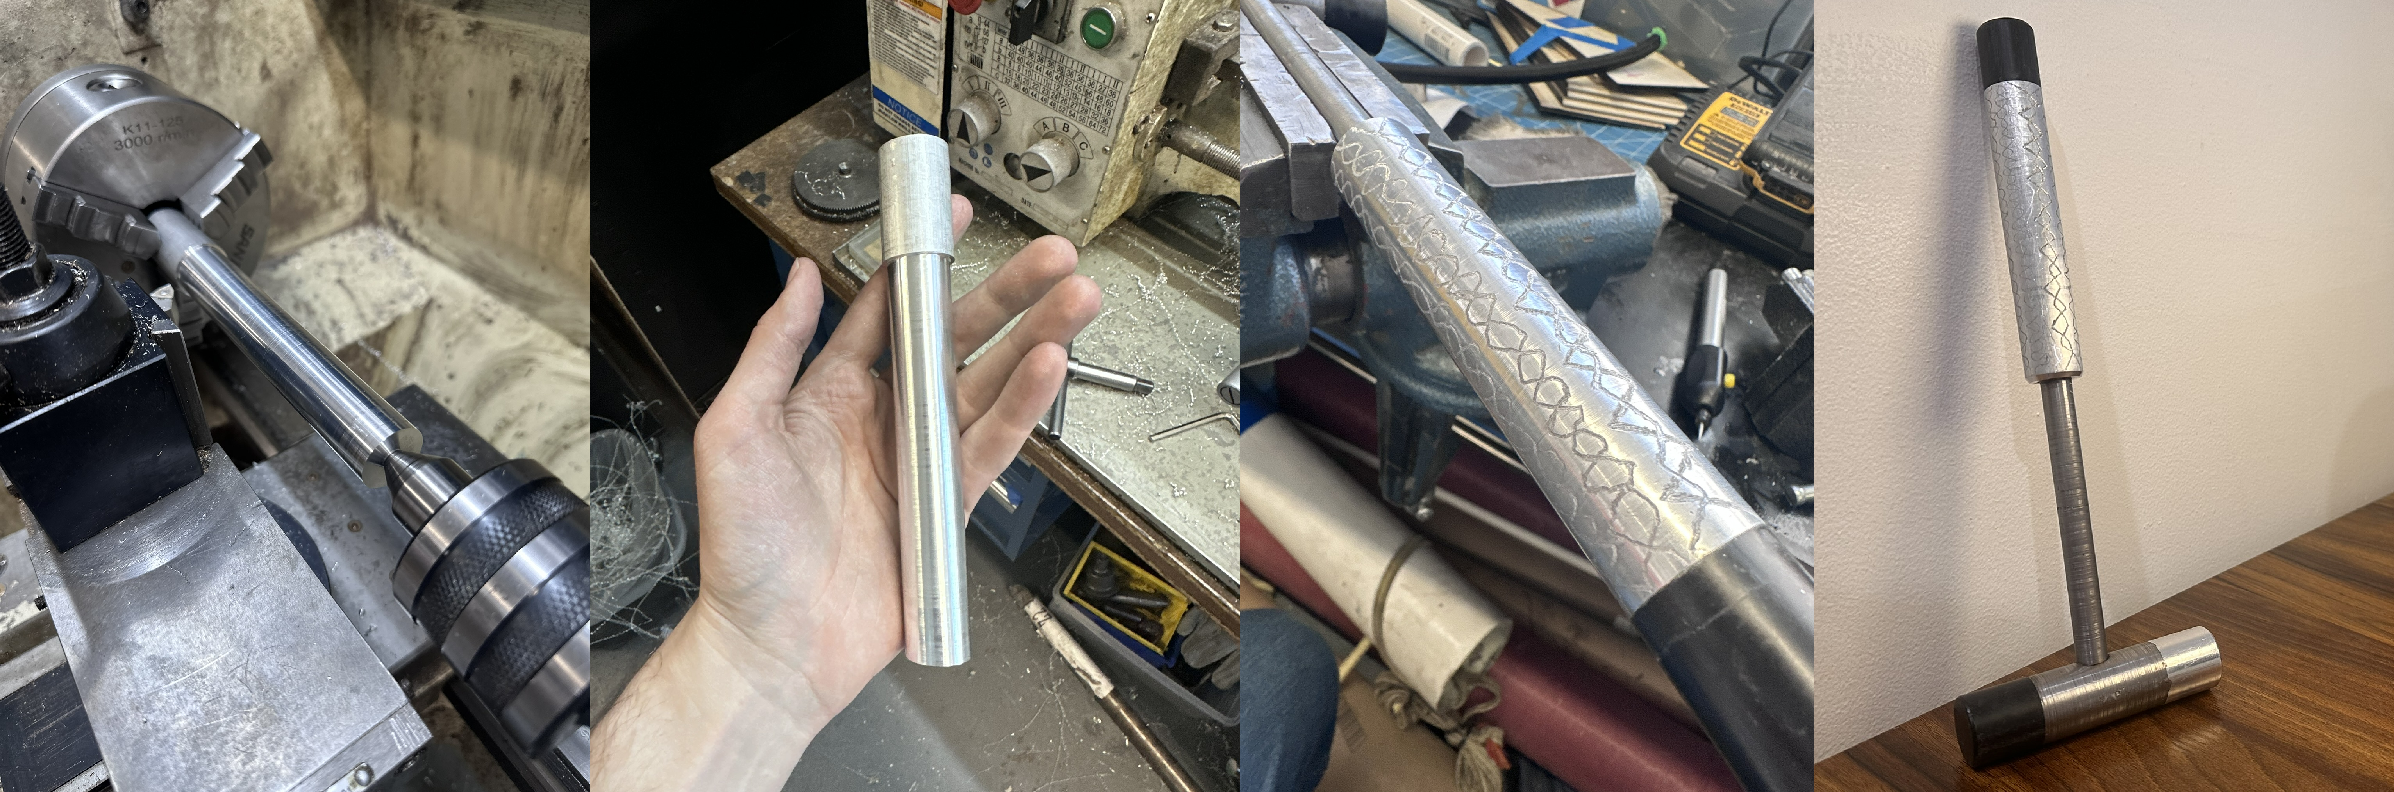
A machinist’s hammer is a common first project for an amateur machinist. The hammer is very useful when setting up workpieces on lathes and mills. This hammer I made from aluminum, steel, and delrin completely on a manual lathe. The design was based off of general dimensions found online and based on what stock I had on hand. The hammer was completed in about 5 sessions over about a week and a half. The following is the pdf drawing packet for the hammer assembly. These drawings were drawn and used for reference while machining.
→ View Machinist Hammer Drawings PDF
Design
The design of the hammer was optimized for what material I had on hand and for my skill set as an amateur machinist. The operations were kept simple as I would be completing all operations on my own and by hand. The lathe operations were limited to simple outer diameter turning, facing, drilling, and tapping. Steel threaded rod couplers fixed with locktight were used between most parts while the shaft threads into both the handle and hammer head. By using all threaded connections, the hammer could be assembled and parts modified before the connections were made permanent by locktight. A hard and soft side, made from delrin and aluminum, make up the head of the hammer to offer a more versatile utility.
Machining
This project was mostly completed using the manual lathe at NYU’s MakerGarage during the last few weeks of the Spring 2026 semester. Additionally a manual mill and bench-top grinder were used for completing some parts. All parts were machined my myself.
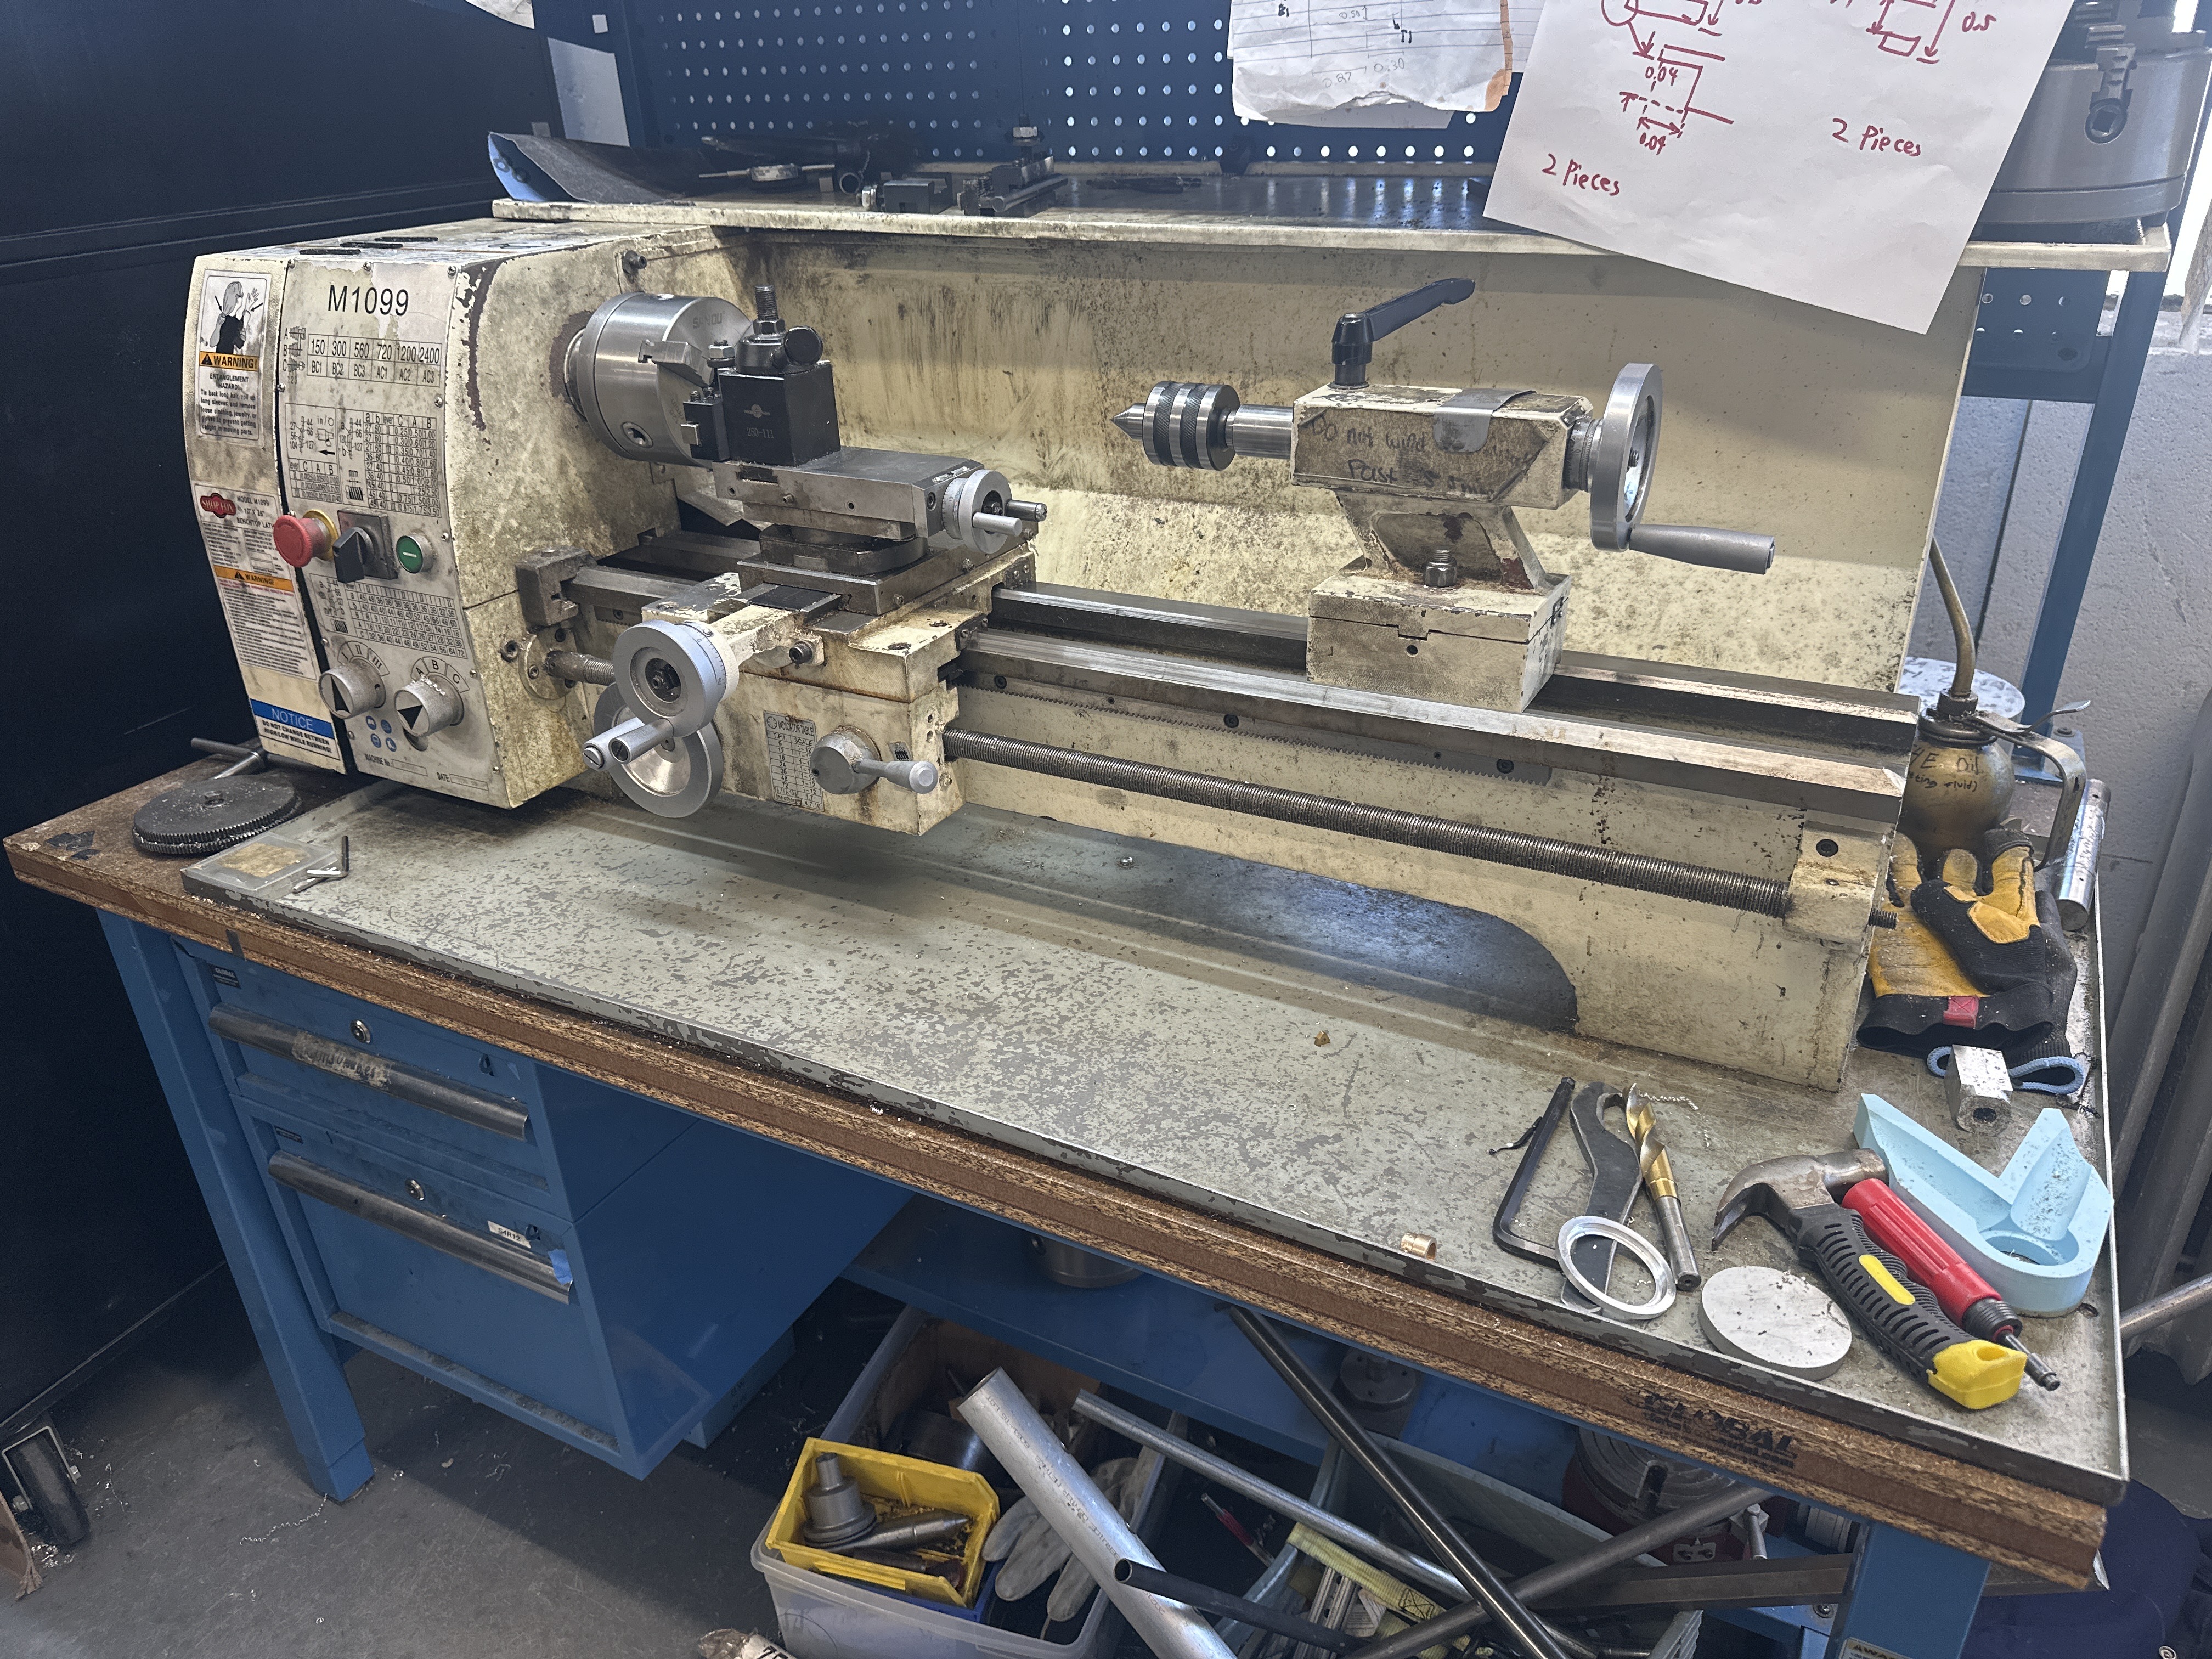
Lathe at NYU’s MakerGarage.
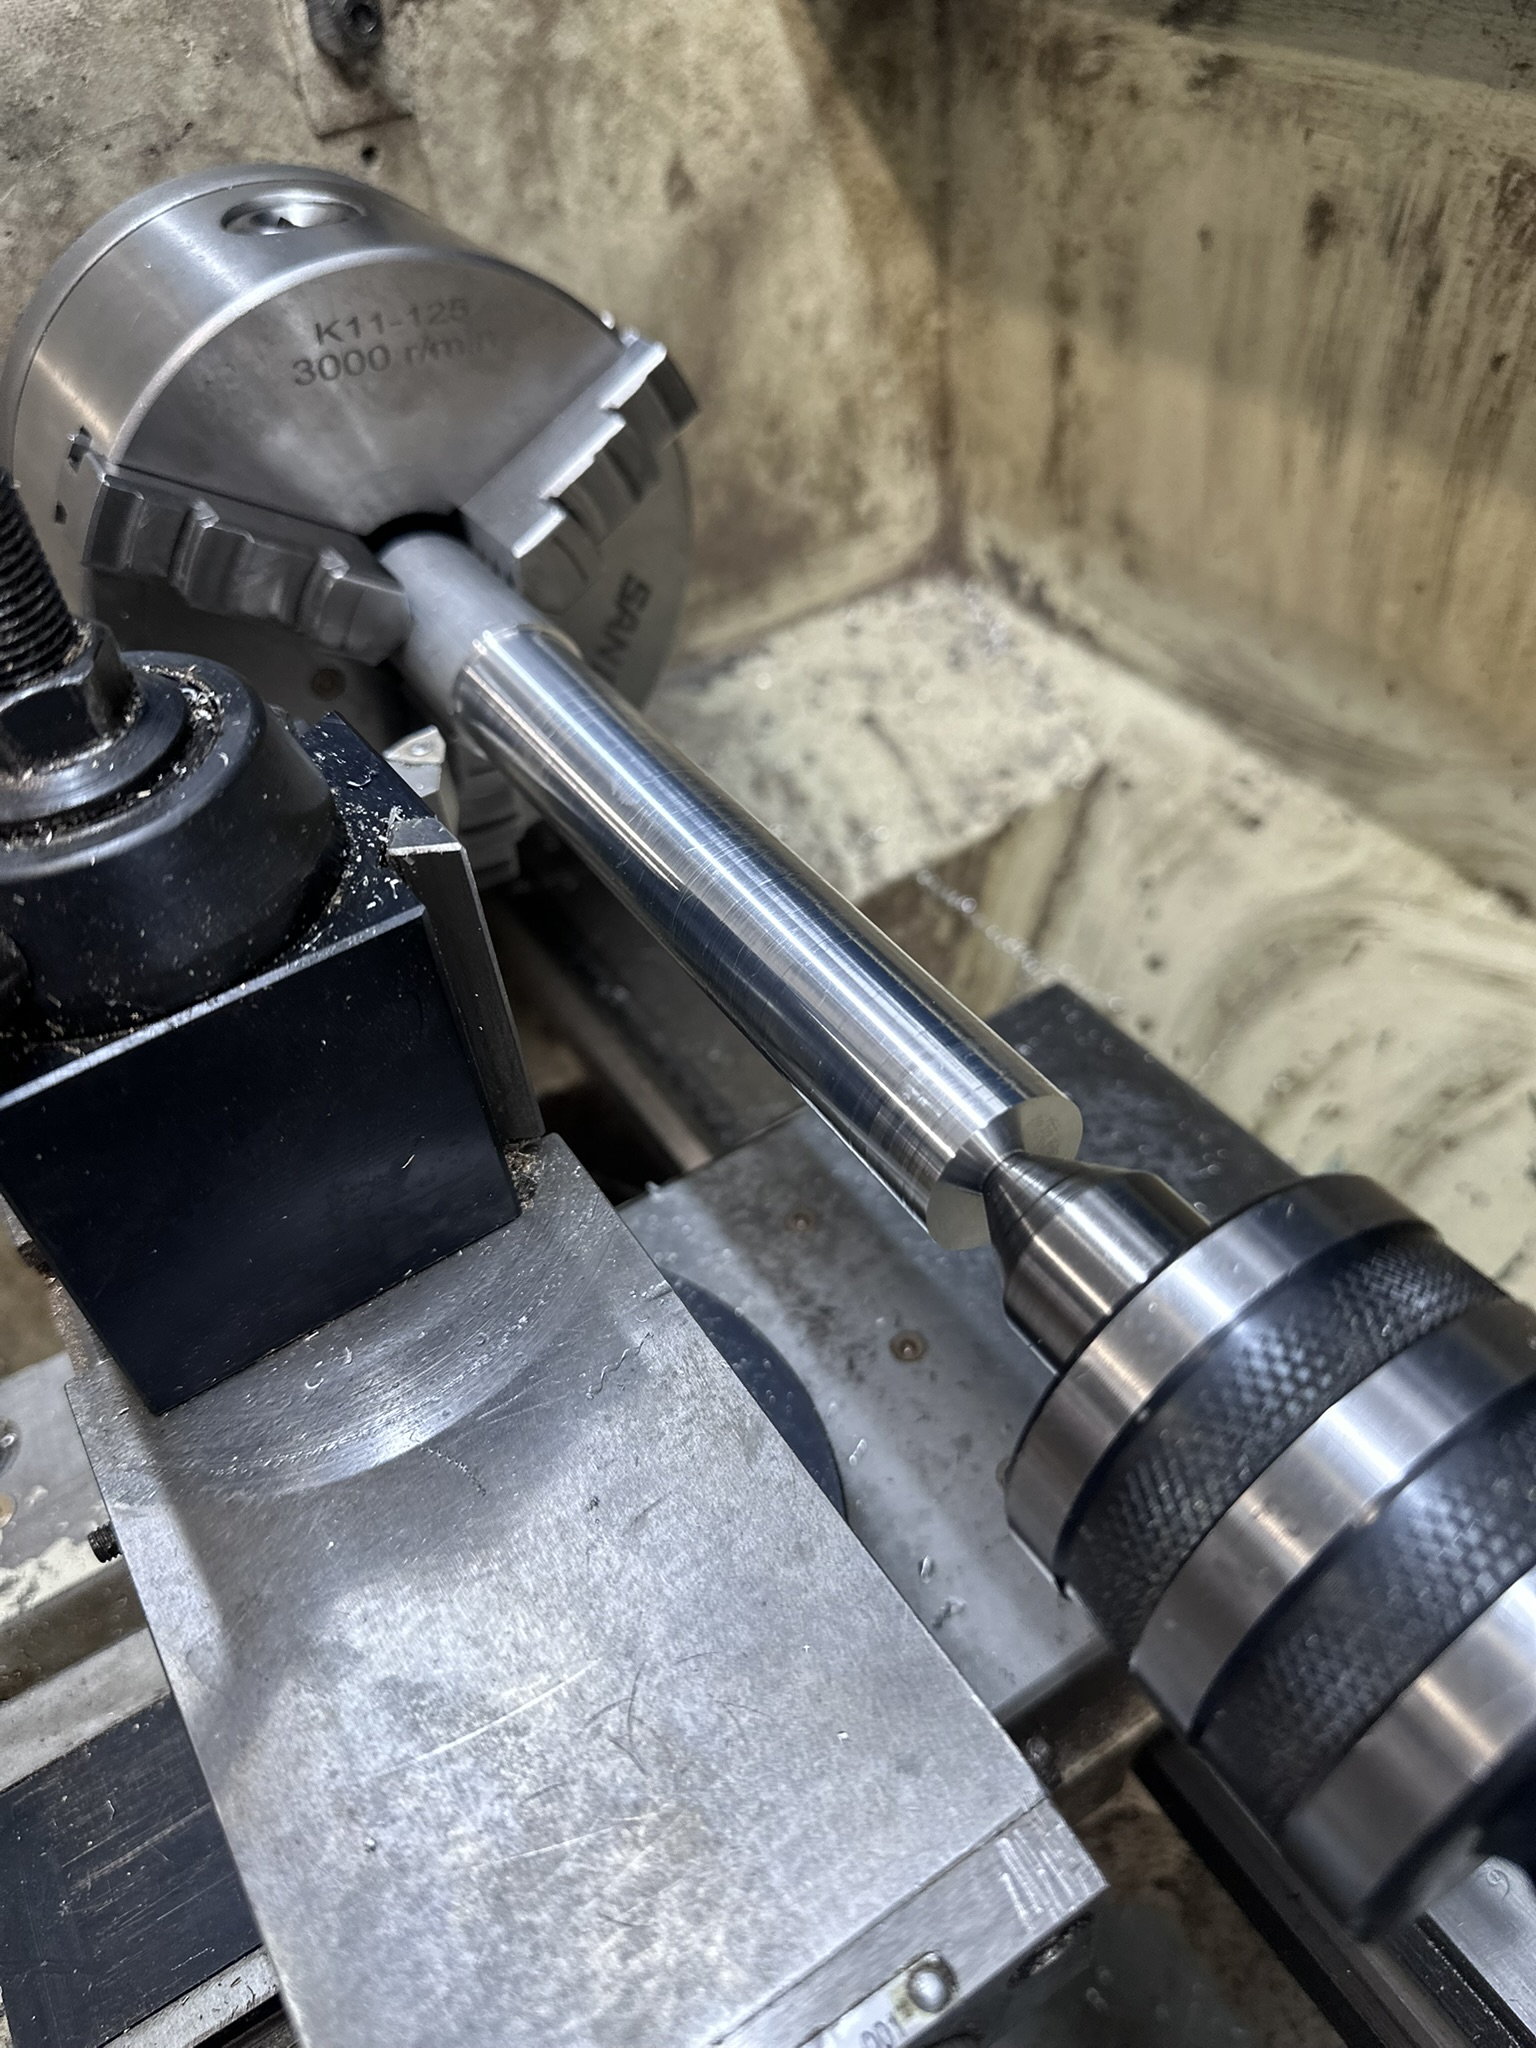
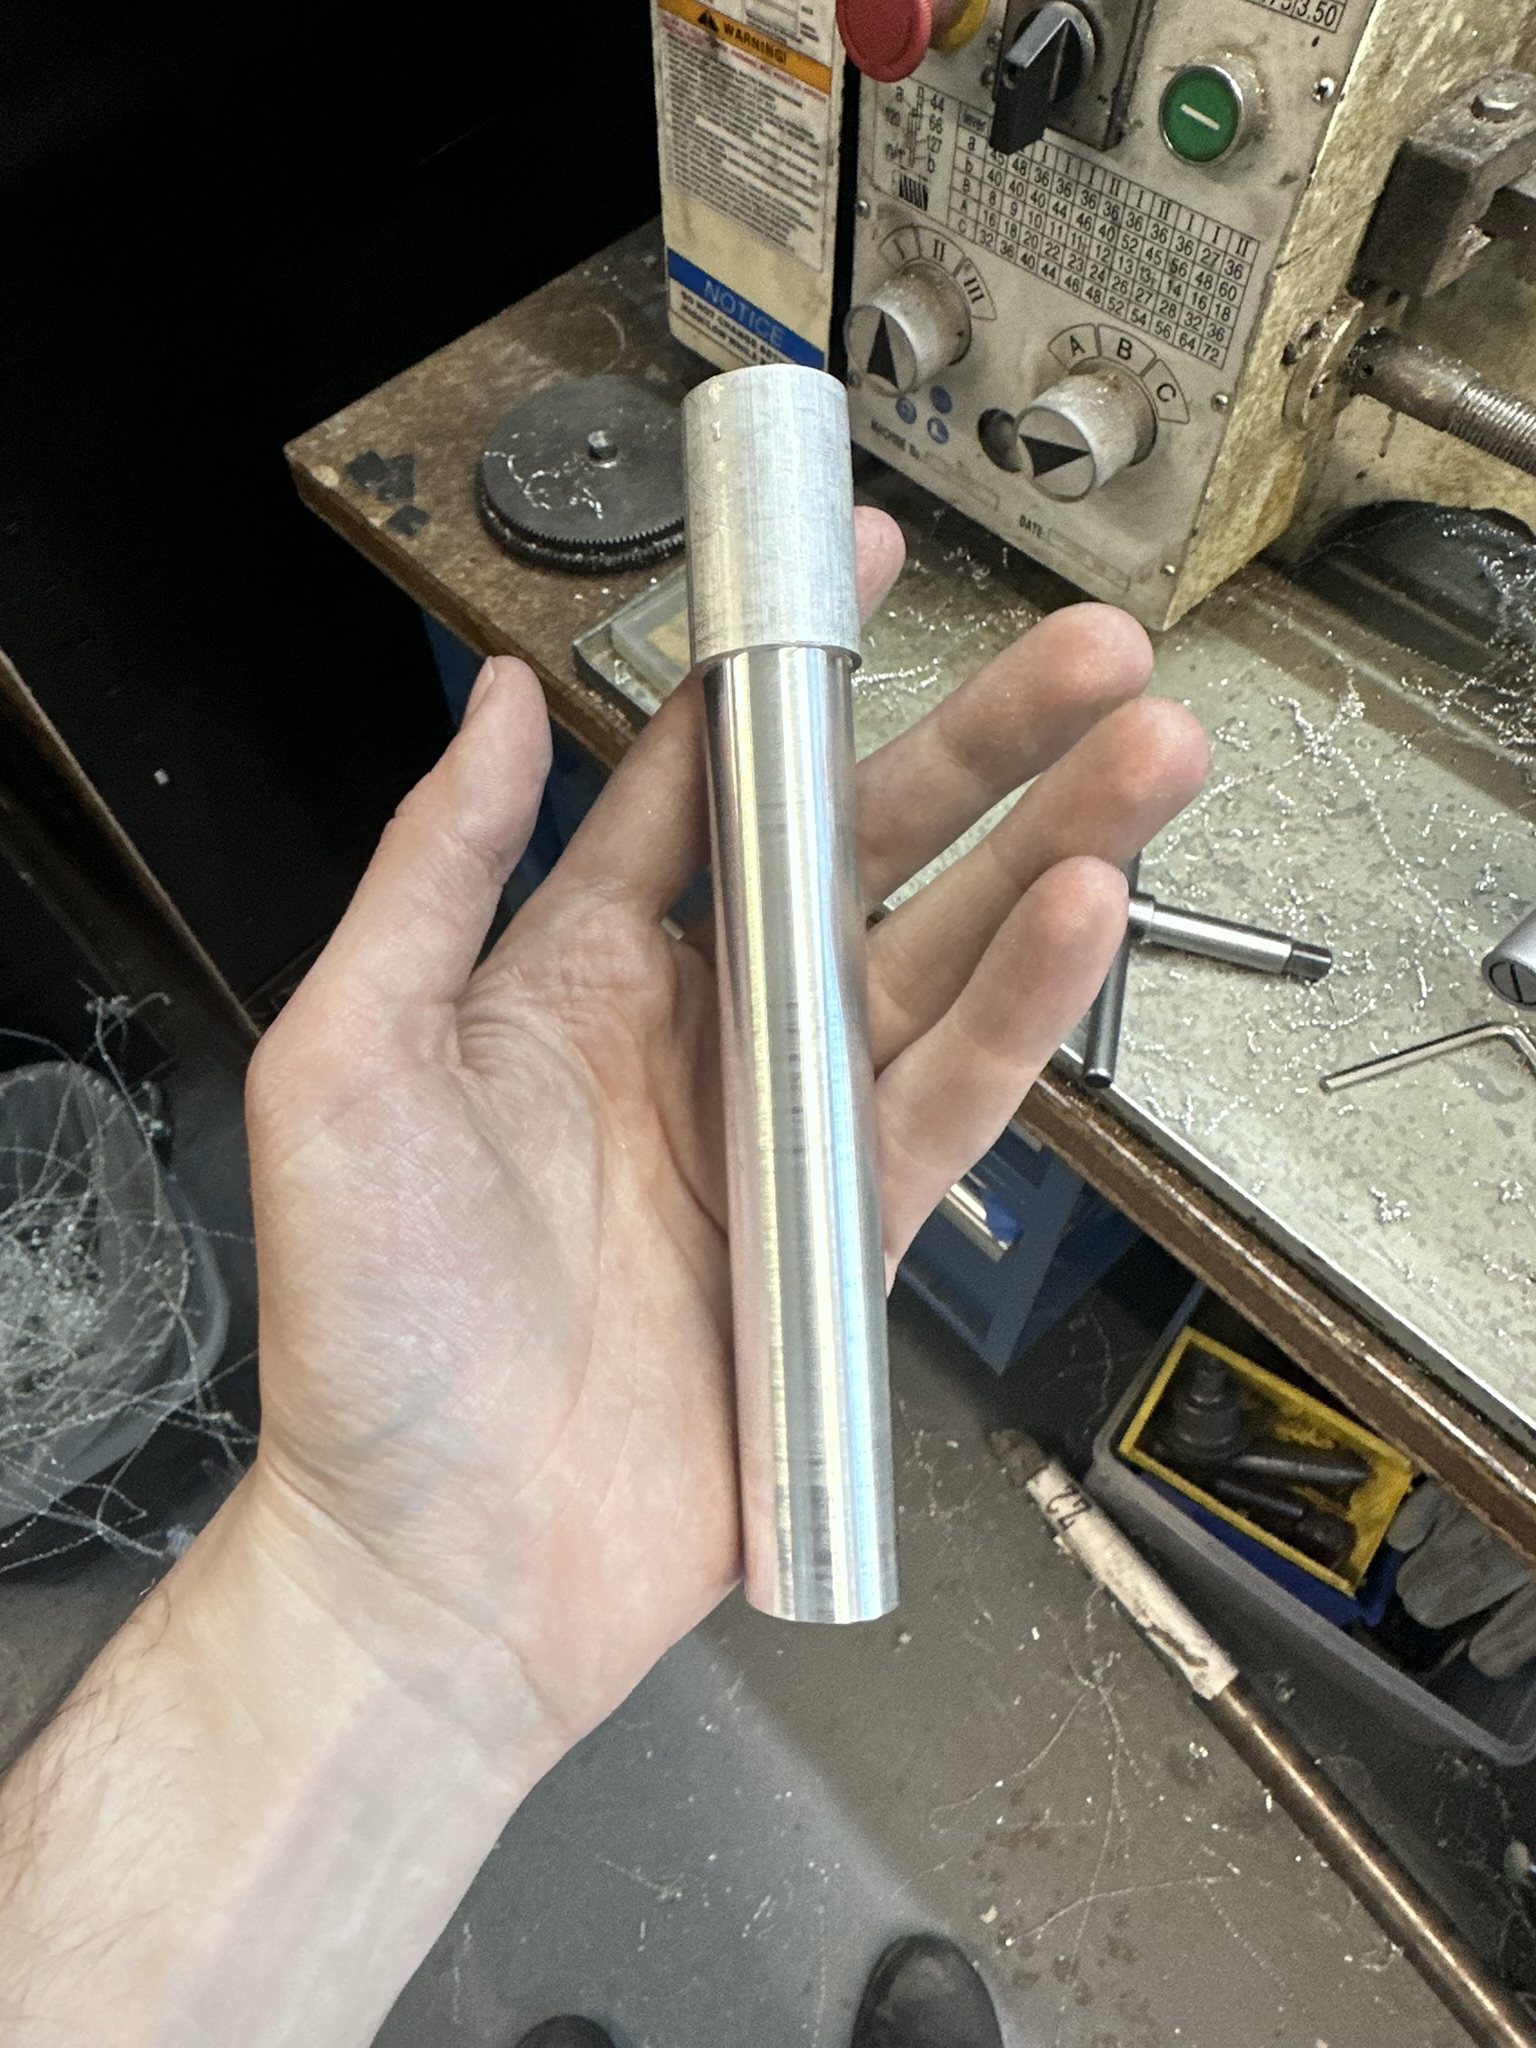
Machining the shaft.
Once all parts were machined and assembled initially, I decided the shaft was a bit too long. Because the parts were not yet permanently attached with locktight, the shaft could be removed, chucked into the lathe, and shortened. With about two inches removed from the shaft, the hammer felt better in the hand and the connections were made permanent.
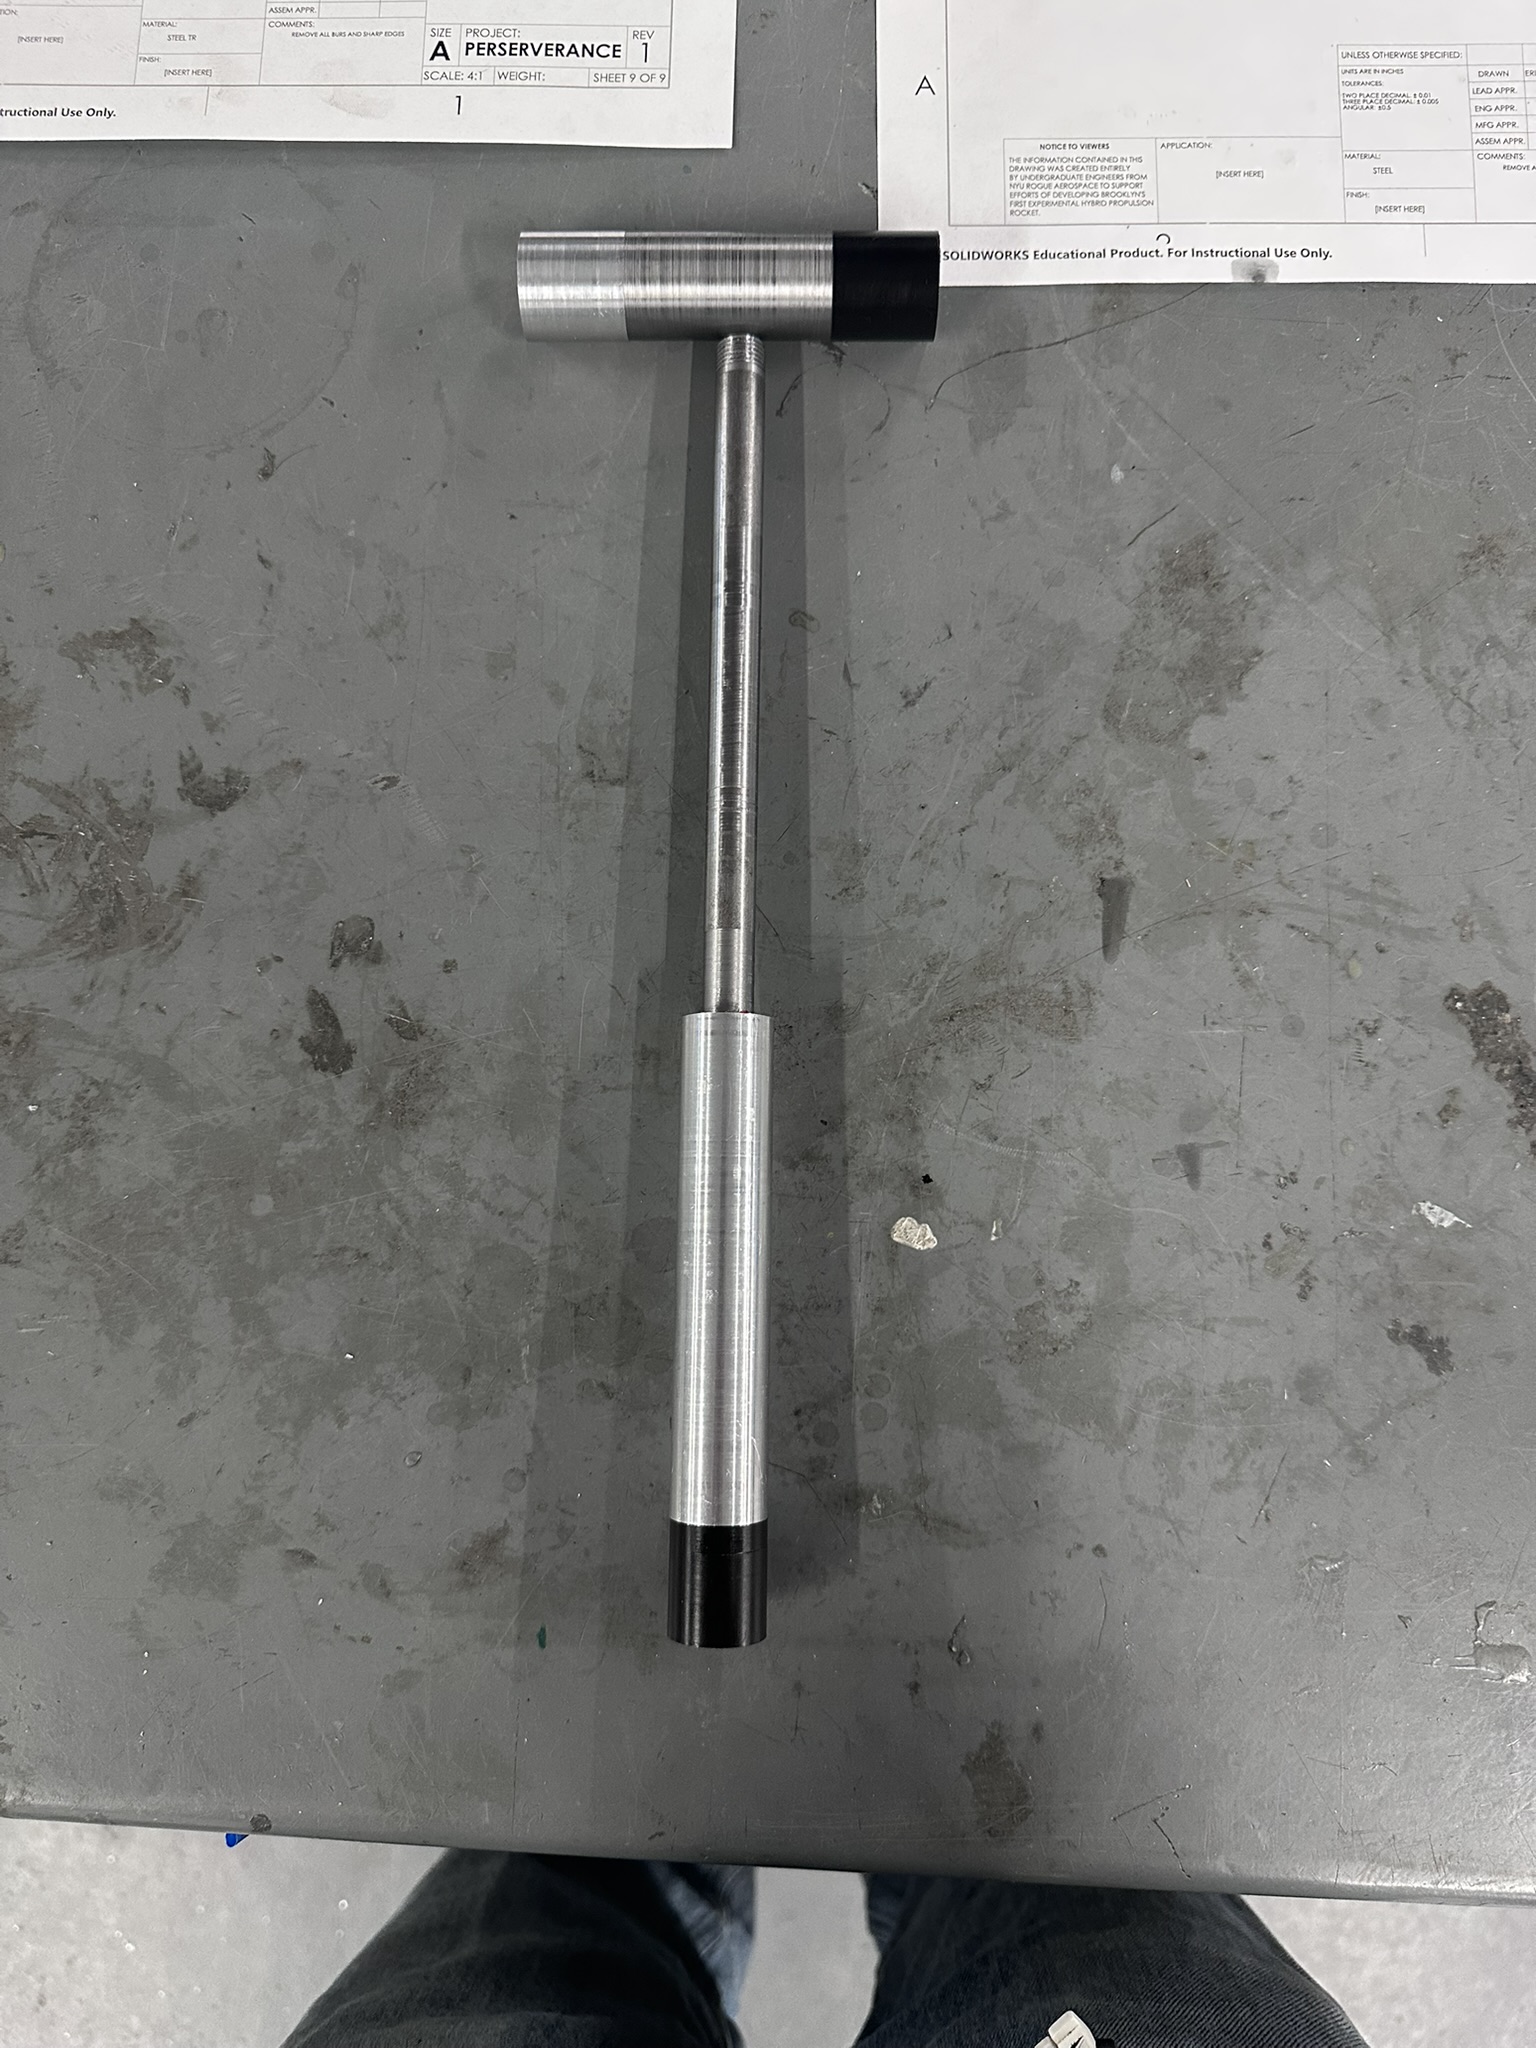
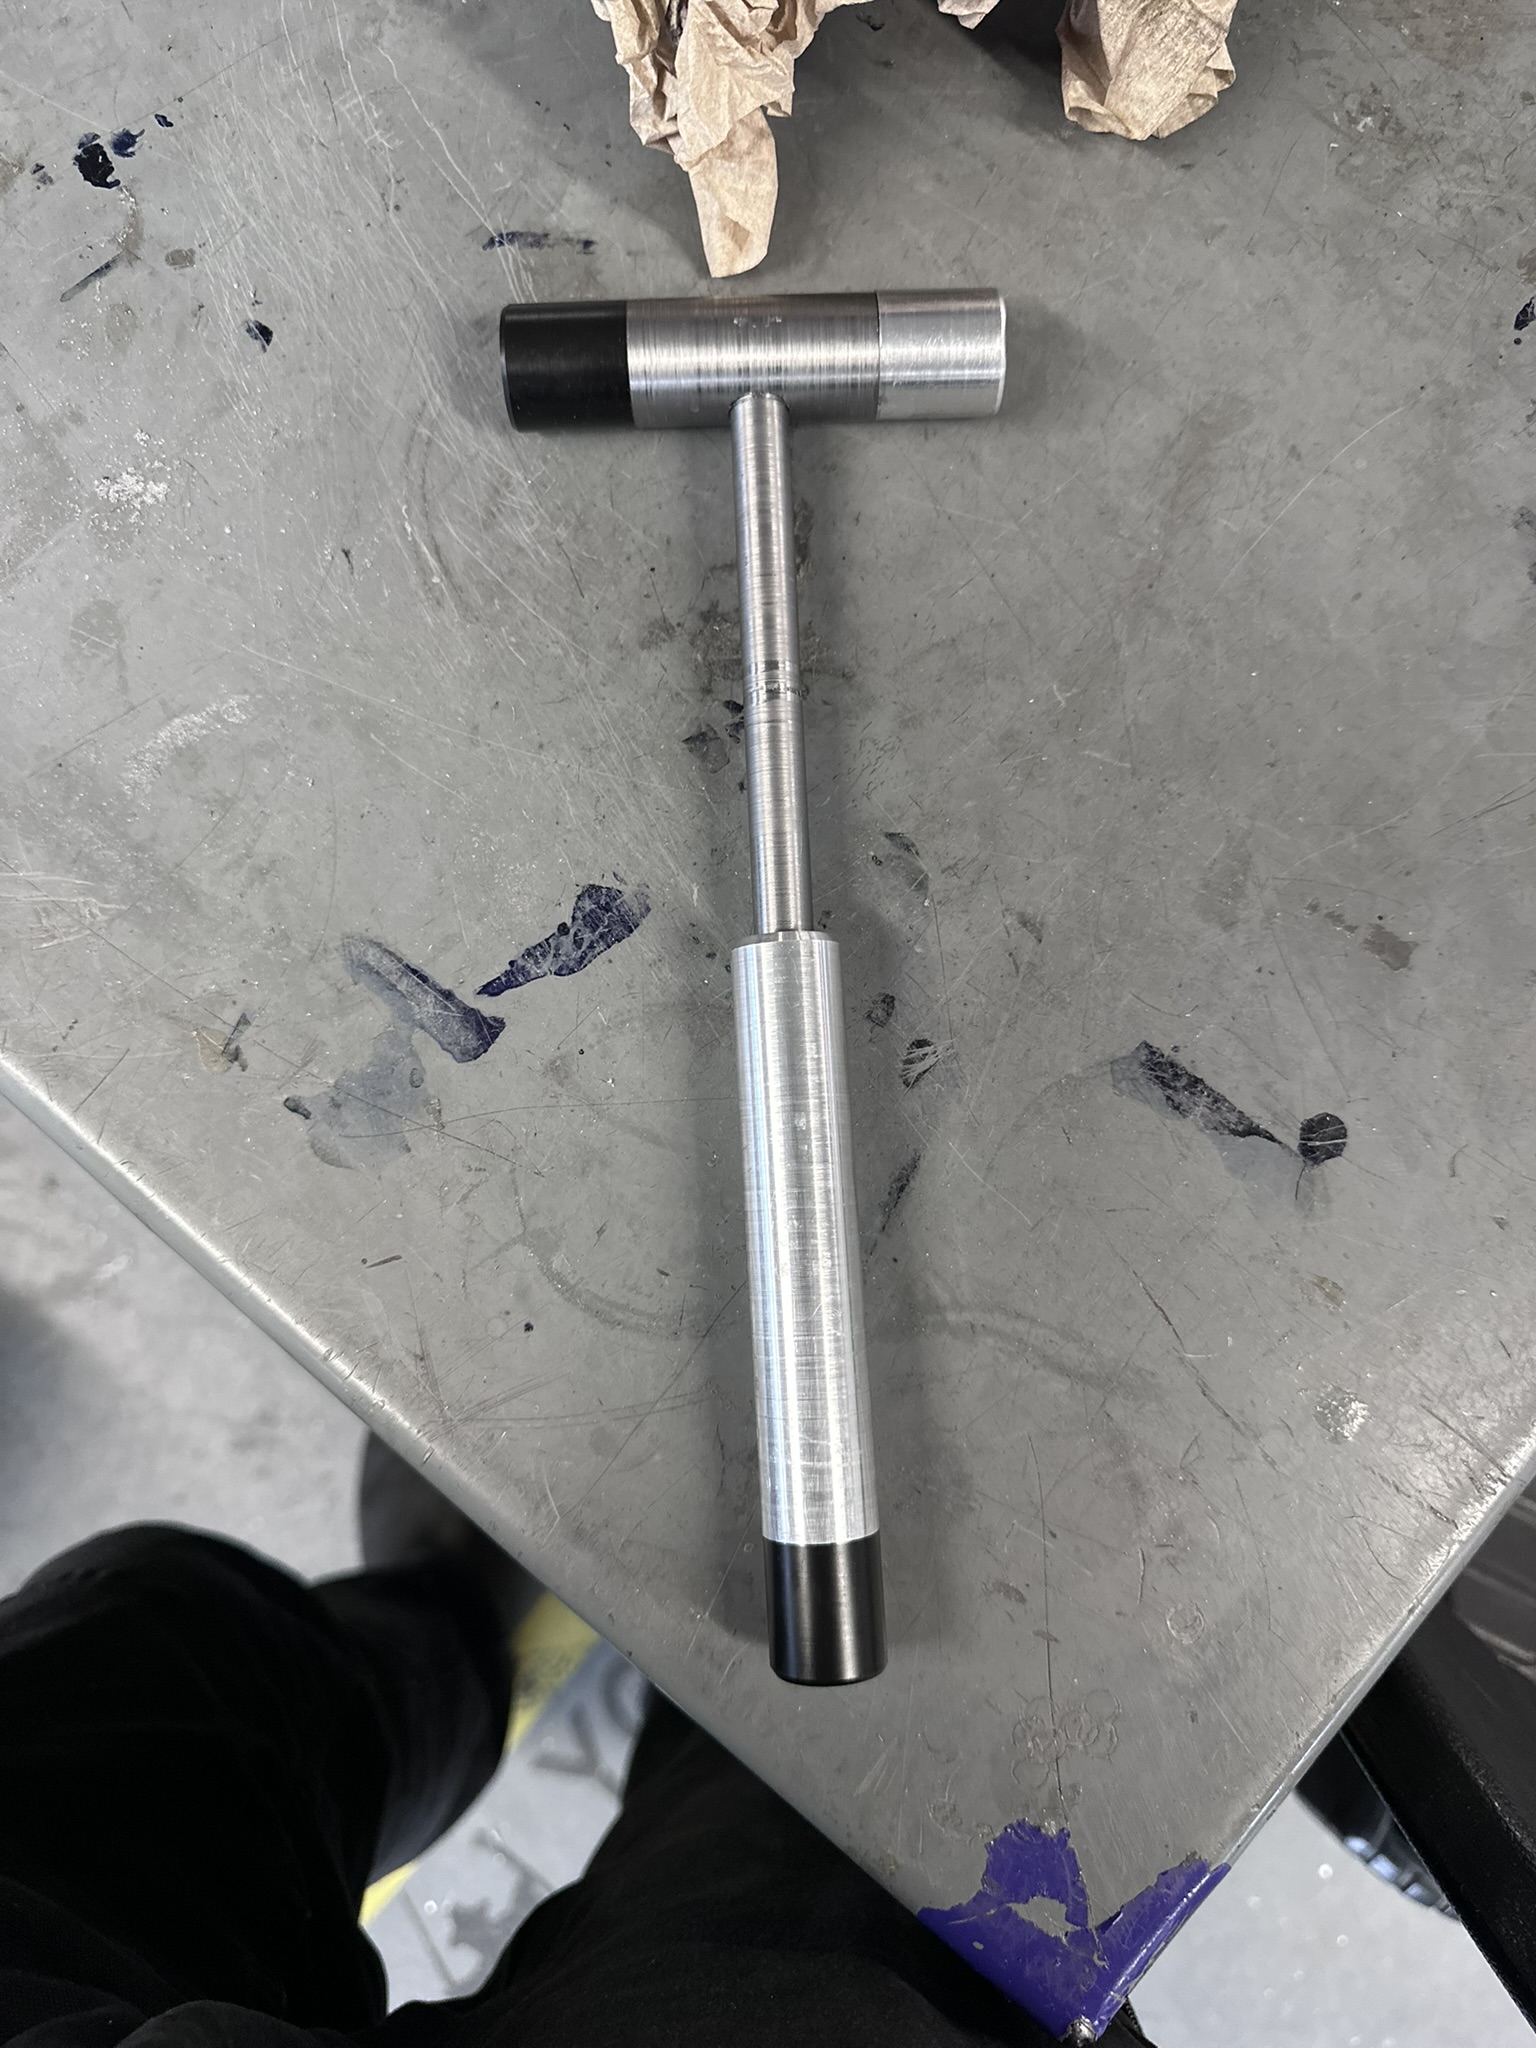
The hammer before and after shortening the shaft.
With the hammer completed, I felt the handle could use some extra grip. With a hand engraver, I added hand drawn intersecting lines along the handle.
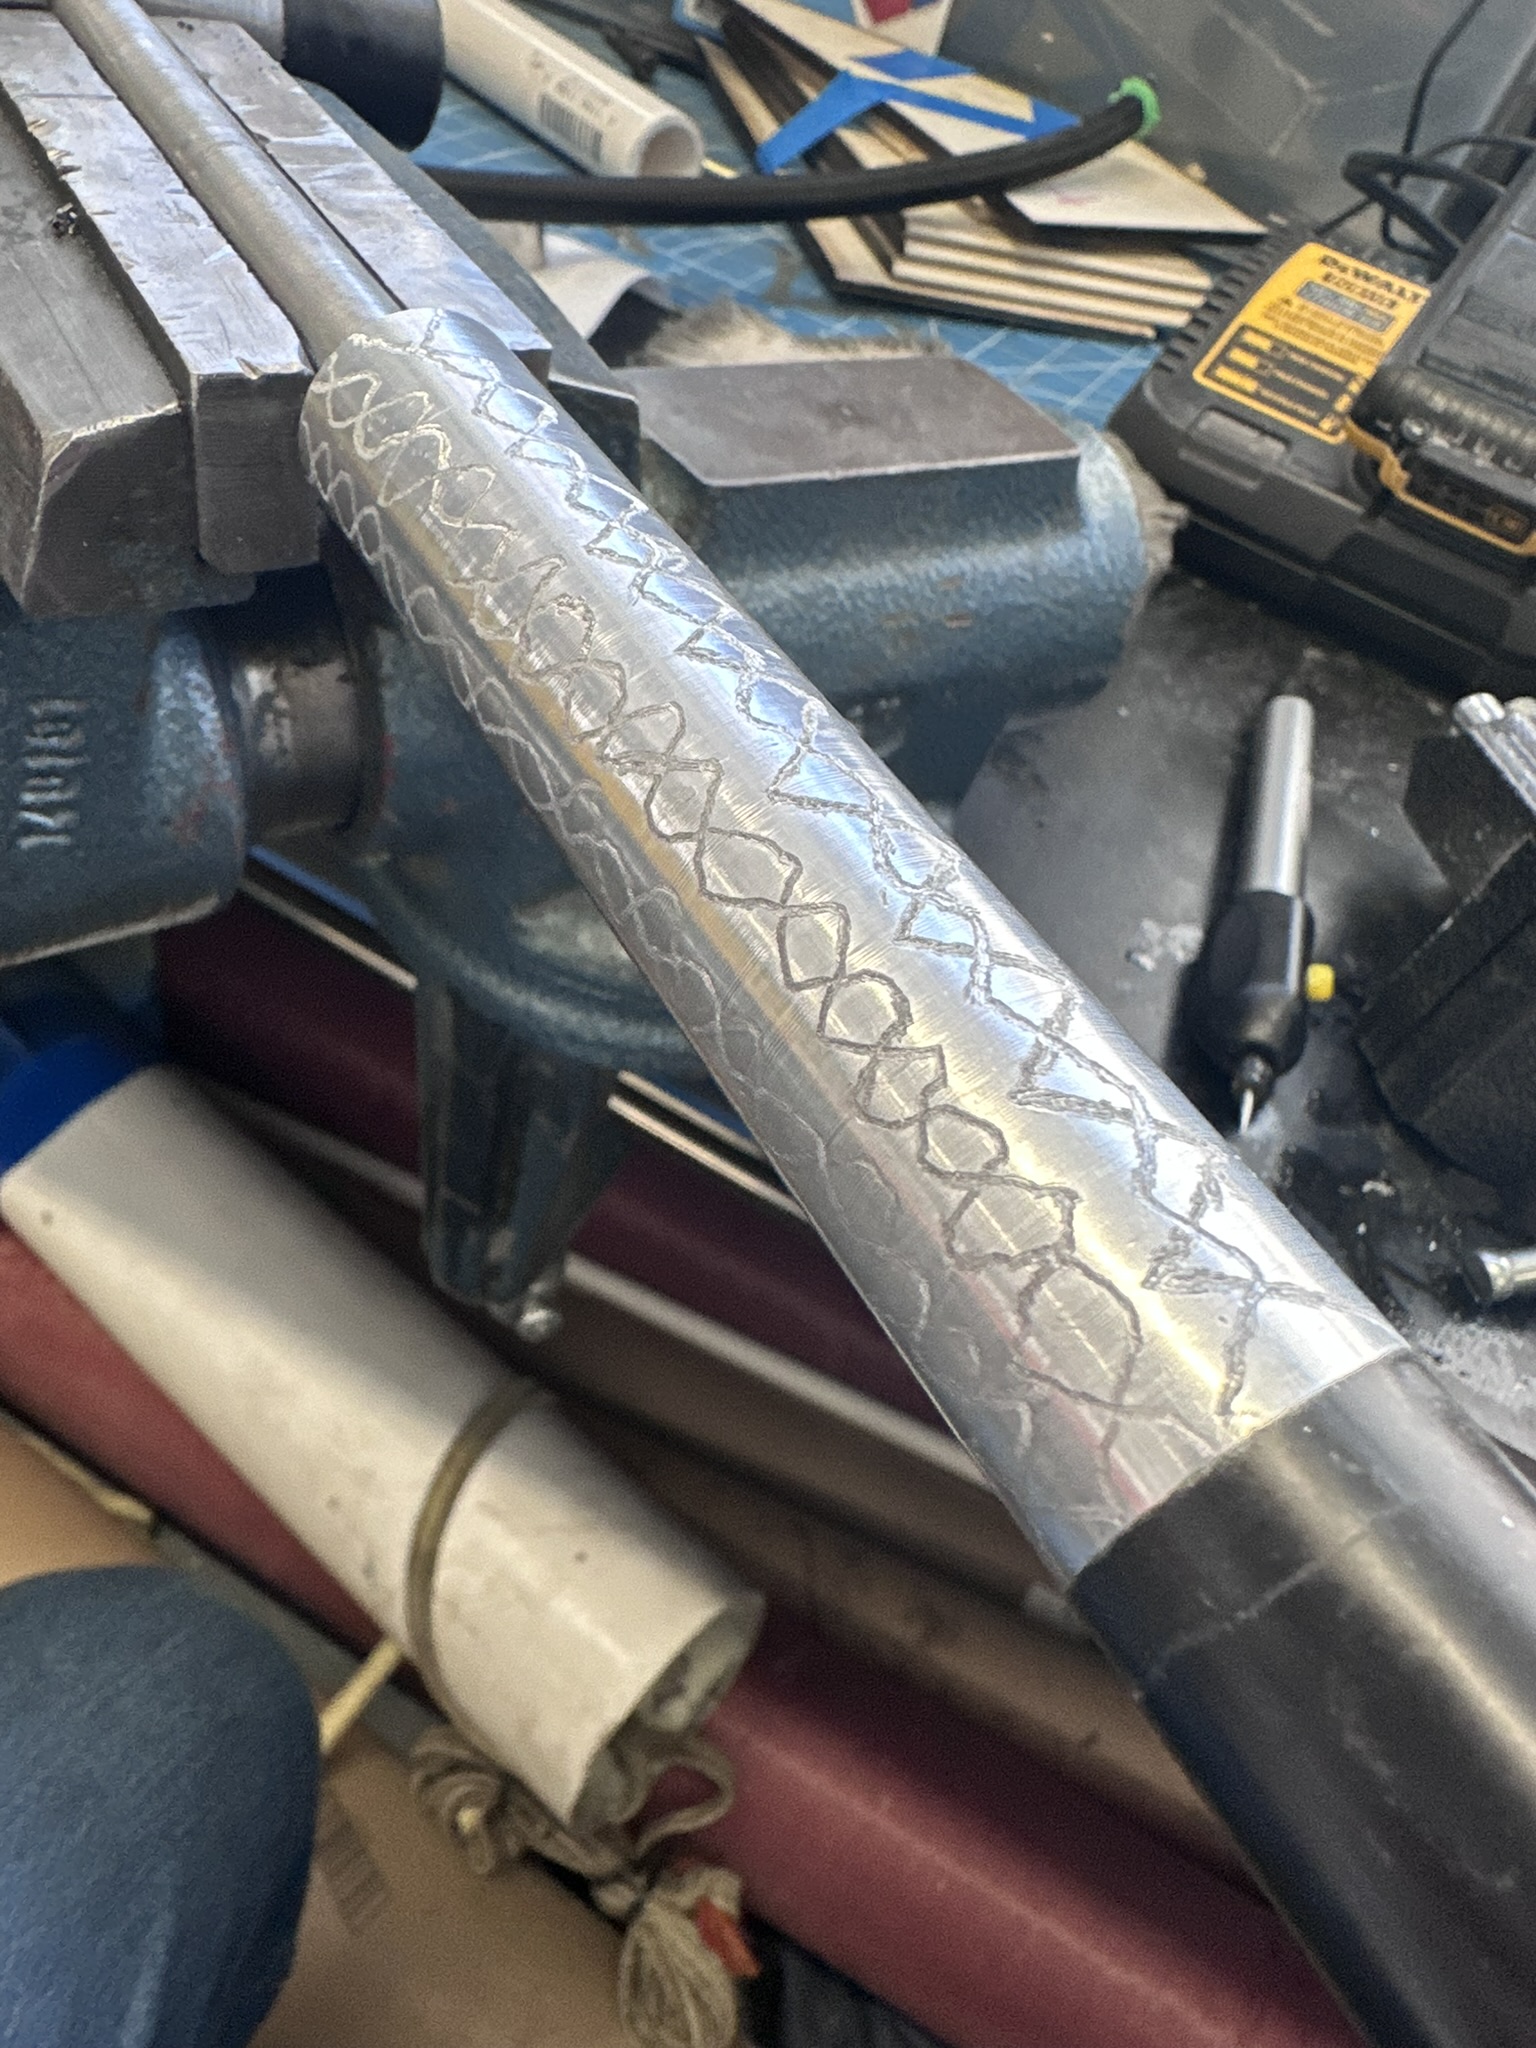
Hammer handle during etching .
With that final touch, the hammer was complete! It has now been used for applications ranging from CNC mill setup to assembling Ikea furniture.
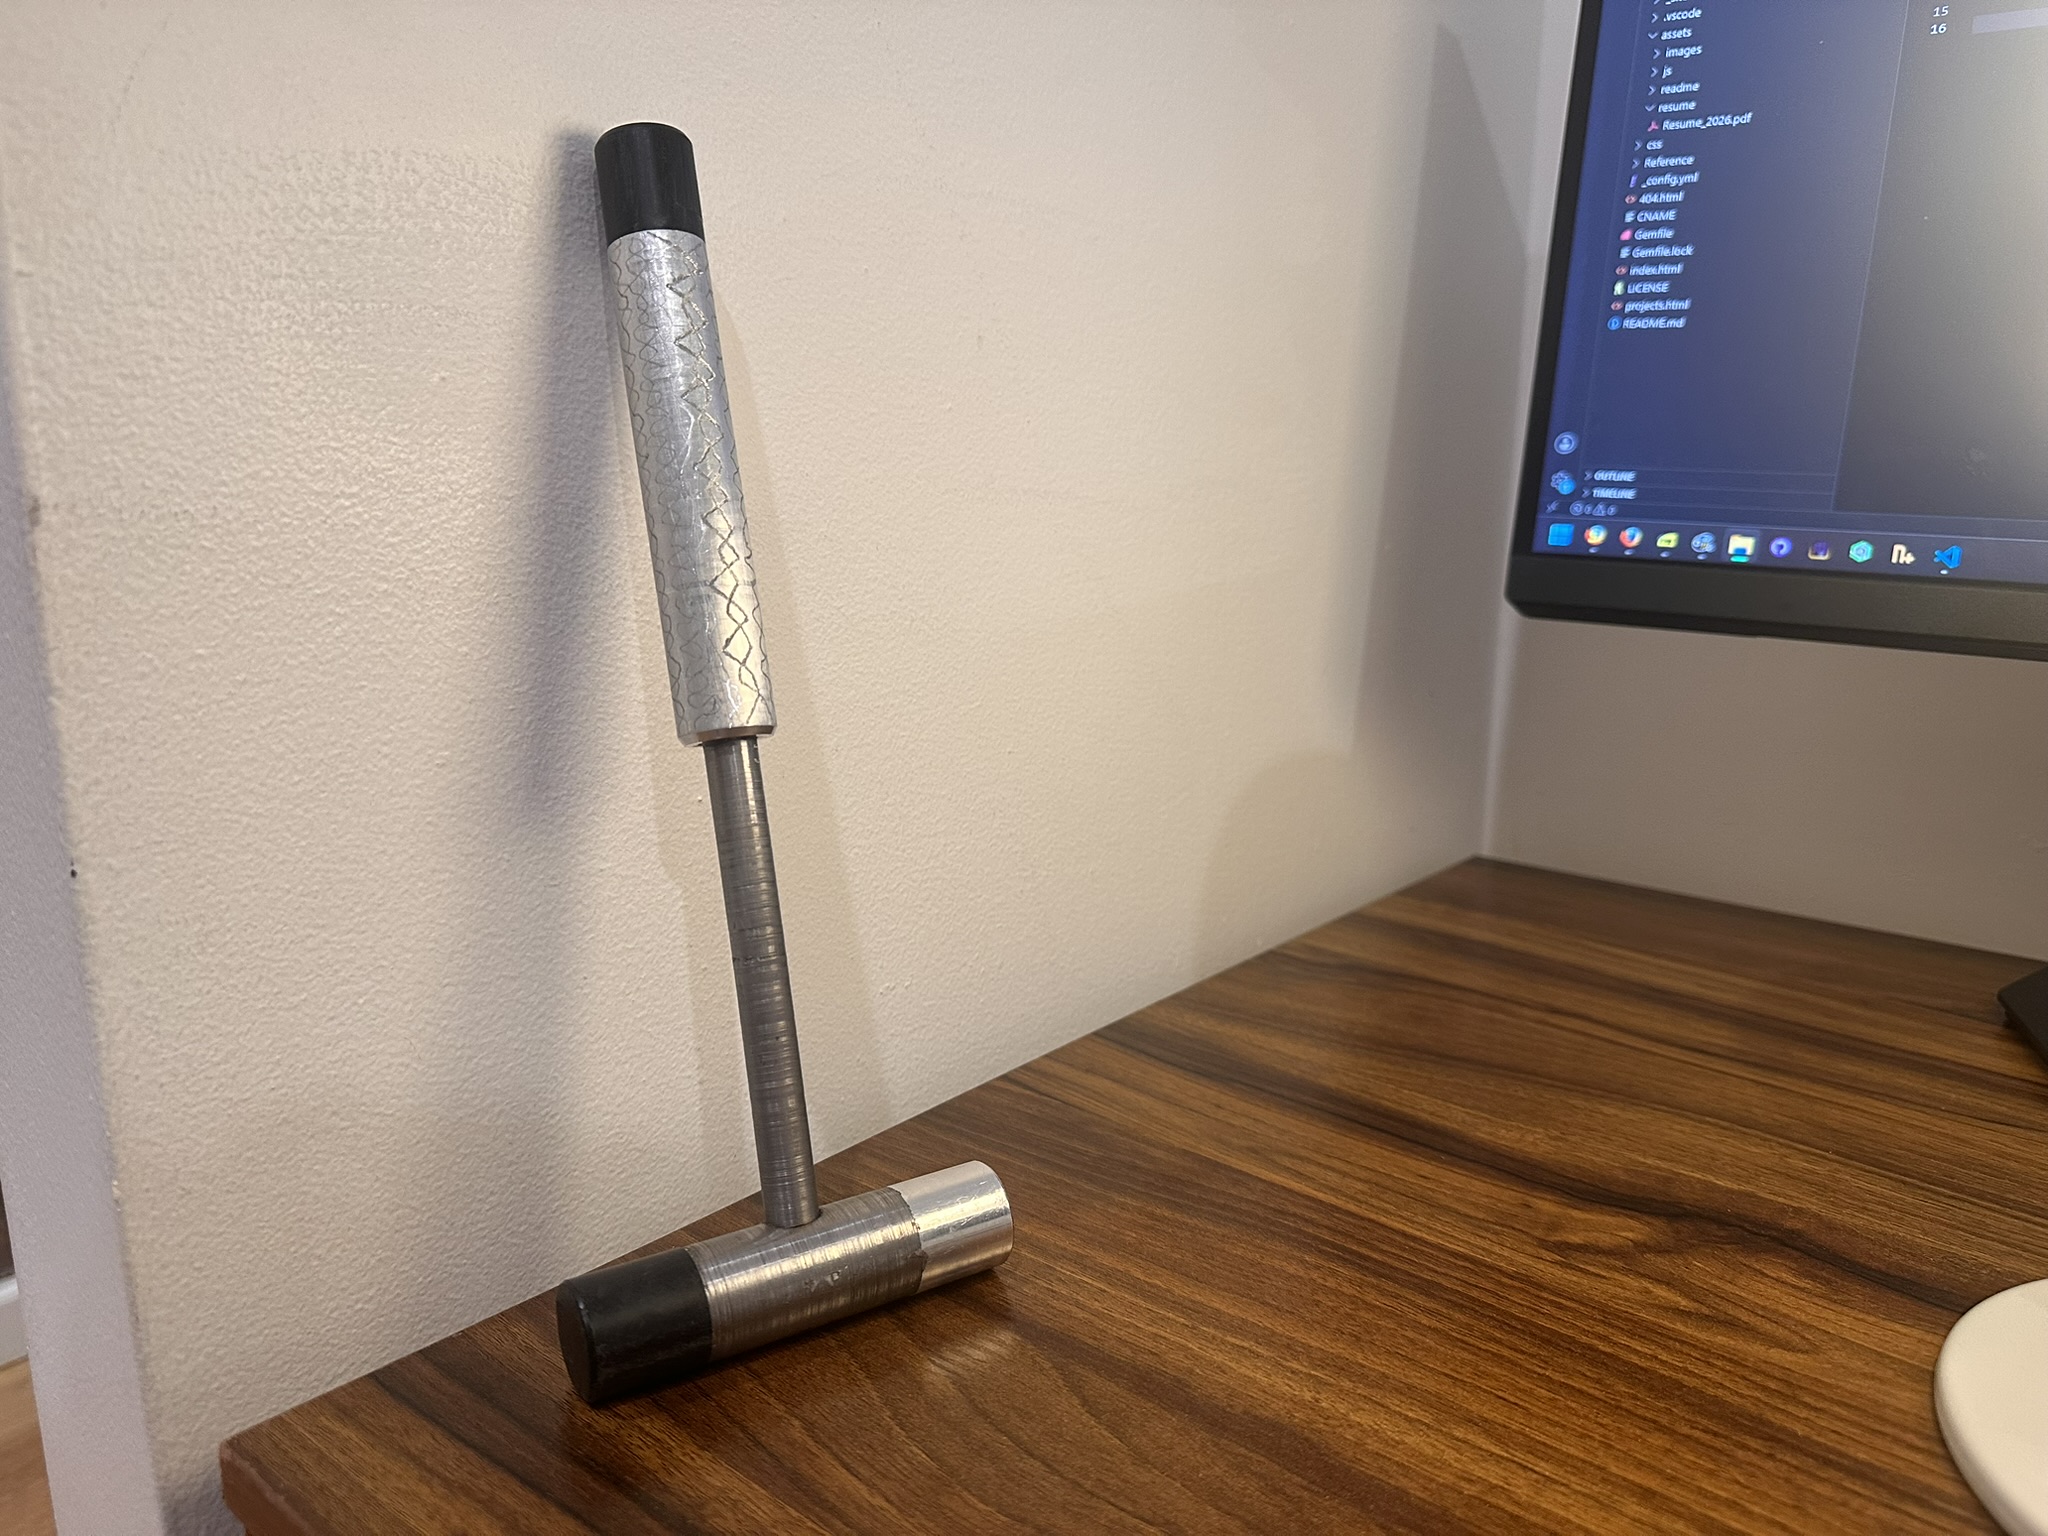
Final machinist hammer.